

How To Use
Usage:
- Copy the “Dn2FauxRetro” folder to: your project’s plugins folder (YourProject\Plugins)
- Go to Edit > Plugins and make sure it, (Dn2FauxRetro) is enabled.
- Go to UE’s Content Browser, Settings (or View Options in UE4.27) and enable “Show Plugin Content”.
- In the Content Browser open up
Dn2FauxRetro Content > Mapfolder and open up one of the two maps.
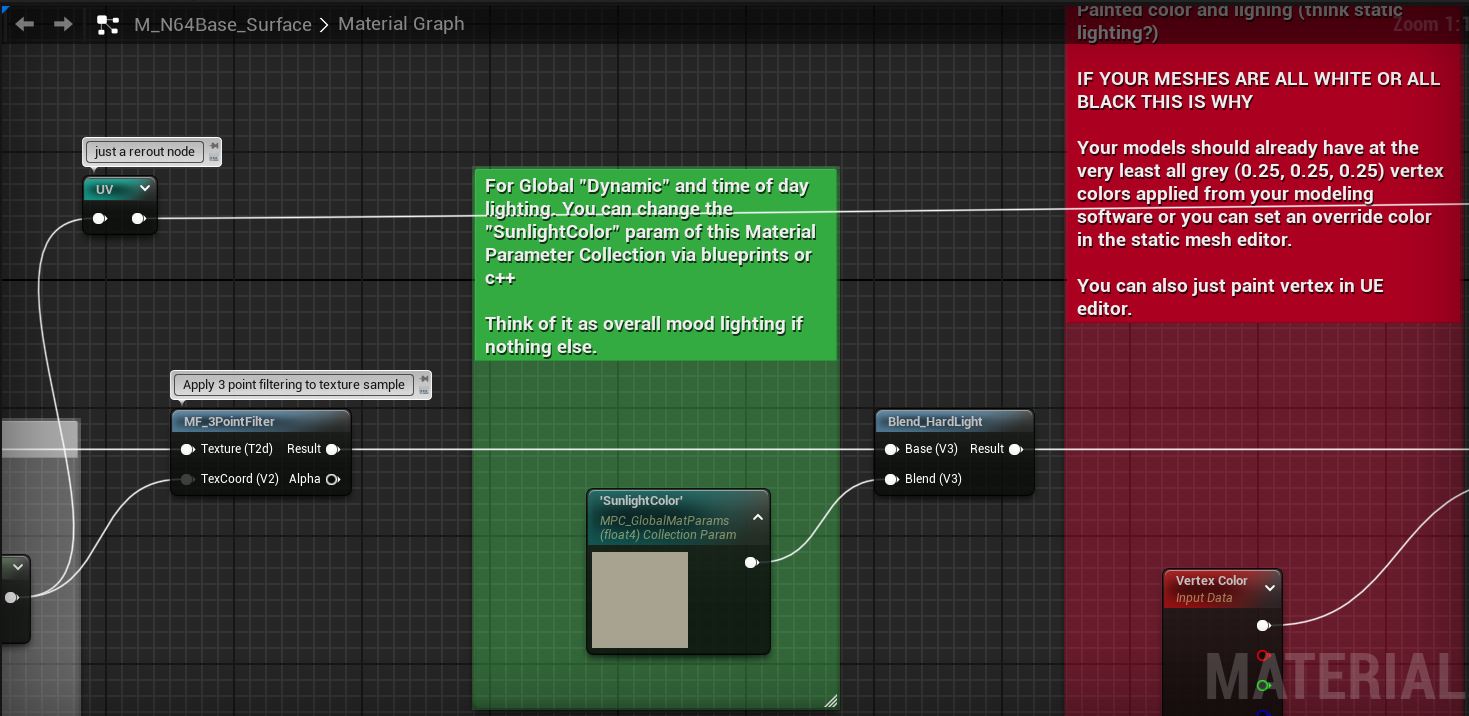
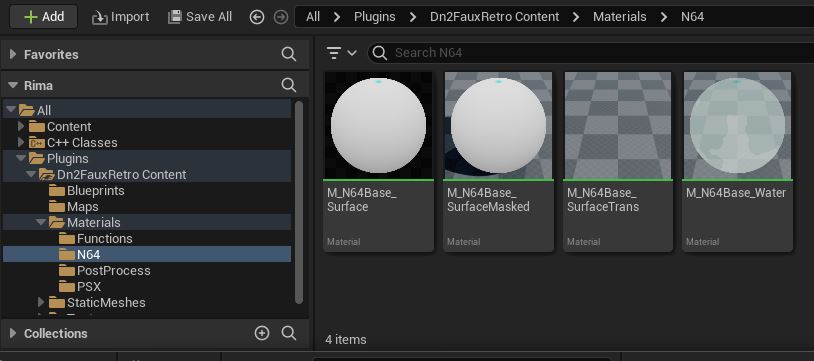 Check out the N64 & PSX Base materials in
 Dn2FauxRetroContent > Materials and the Material Functions in Dn2FauxRetroContent > Materials > Functions.
You can:
- make material instances of the base materials in
Materials > N64orMaterials > PSX - or copy and customise them to your needs
- or take them as examples and use the material functions if you need more unique setup.
CRT Post Process:
- The CRT Post Process material can be found at
Dn2FauxRetroContent > Materials > PostProcess > PP_ScalelineBase - Make a Material Instance based on
PP_ScalelineBaseby Right Clicking. (Or use the one included named:CRTScaleline_Inst) - Add the material instance to a post process volume & tweak the instance’s parameters to your liking.
Texture Settings:
Texture’s Filter need to be set Nearest, Compression Settings to UserInterface2D (RGBA), Texture Group to 2D Pixels (unfiltered). An easy way to set all of these at once is to right click the texture in the content browser, Sprite Actions > Apply Paper2D Texture Settings. You and also open up the texture and set them manually.

I also recommend setting Mip Gen Settings to NoMipmaps.